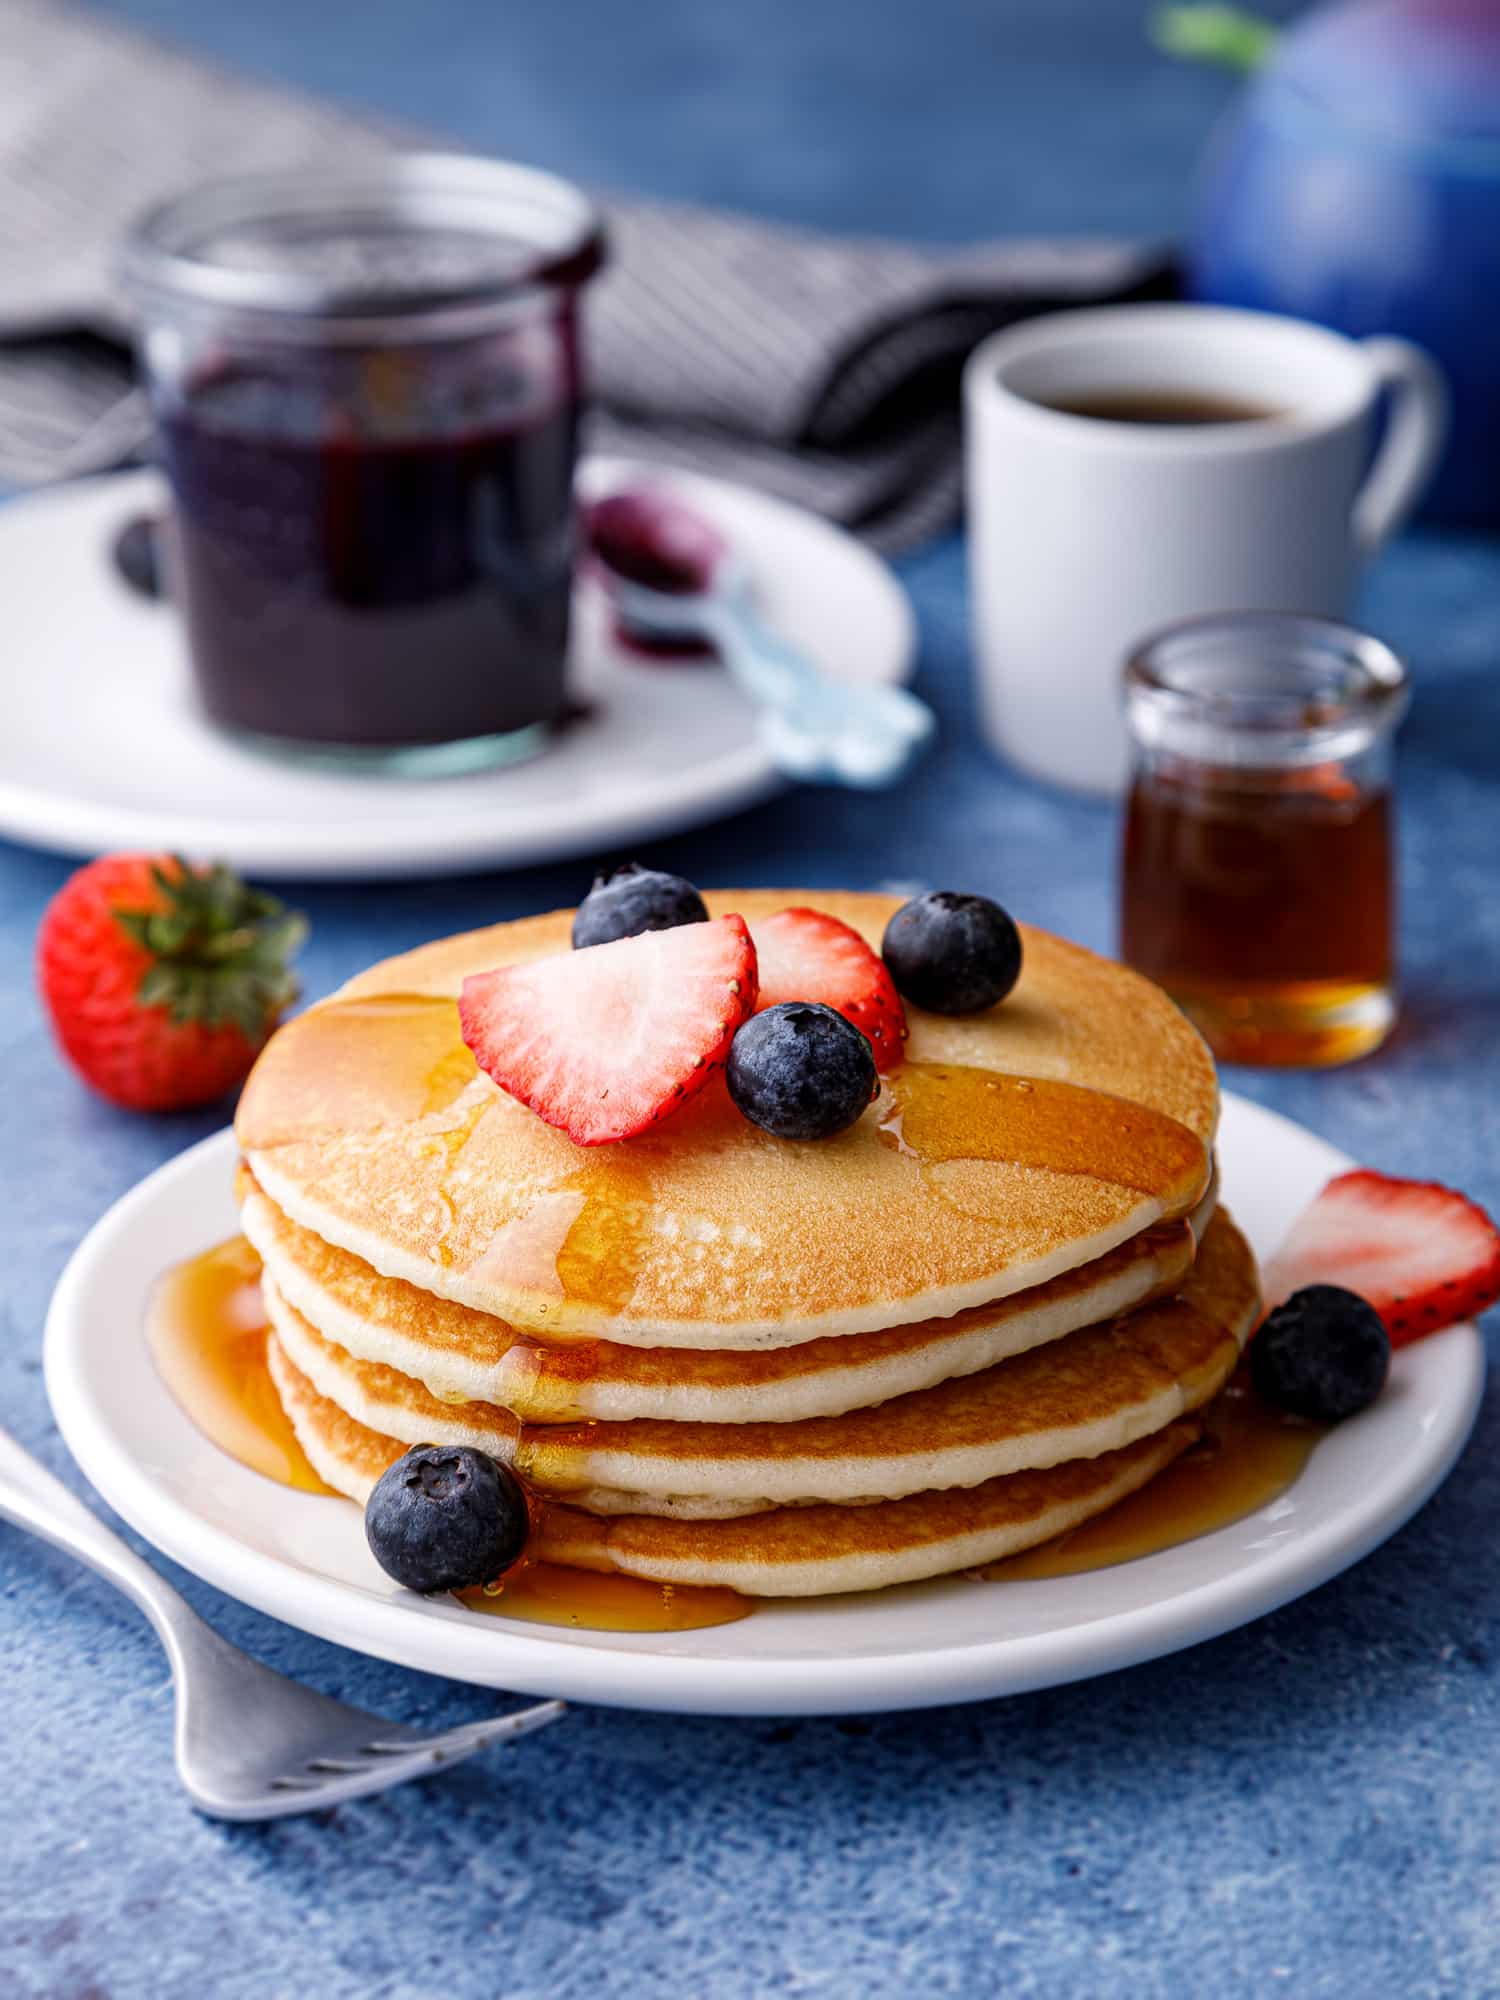
Almond milk pancakes are so thick, fluffy, and downright cloud-like. This recipe is not only dairy-free but entirely gluten-free as well, making this the perfect recipe for anyone with food sensitivities. Truthfully, these dairy-free, grain-free pancakes taste just as good as any traditional pancake I’ve tried.
My kids get so excited about a lazy Saturday morning at home. And of course, the vibe is not complete if there isn’t something moreish and a bit delectable. Sadly, with so many different food allergies and sensitivities under one roof, it can make it a little tricky, and sometimes…it just takes the fun out of it.
So, I made it my mission to create a pancake recipe that would fit everyone’s dietary needs, be simple and easy to make and of course, it needed to taste amazing.
That’s how these Dairy-Free, Gluten-Free Almond Milk Pancakes were born!
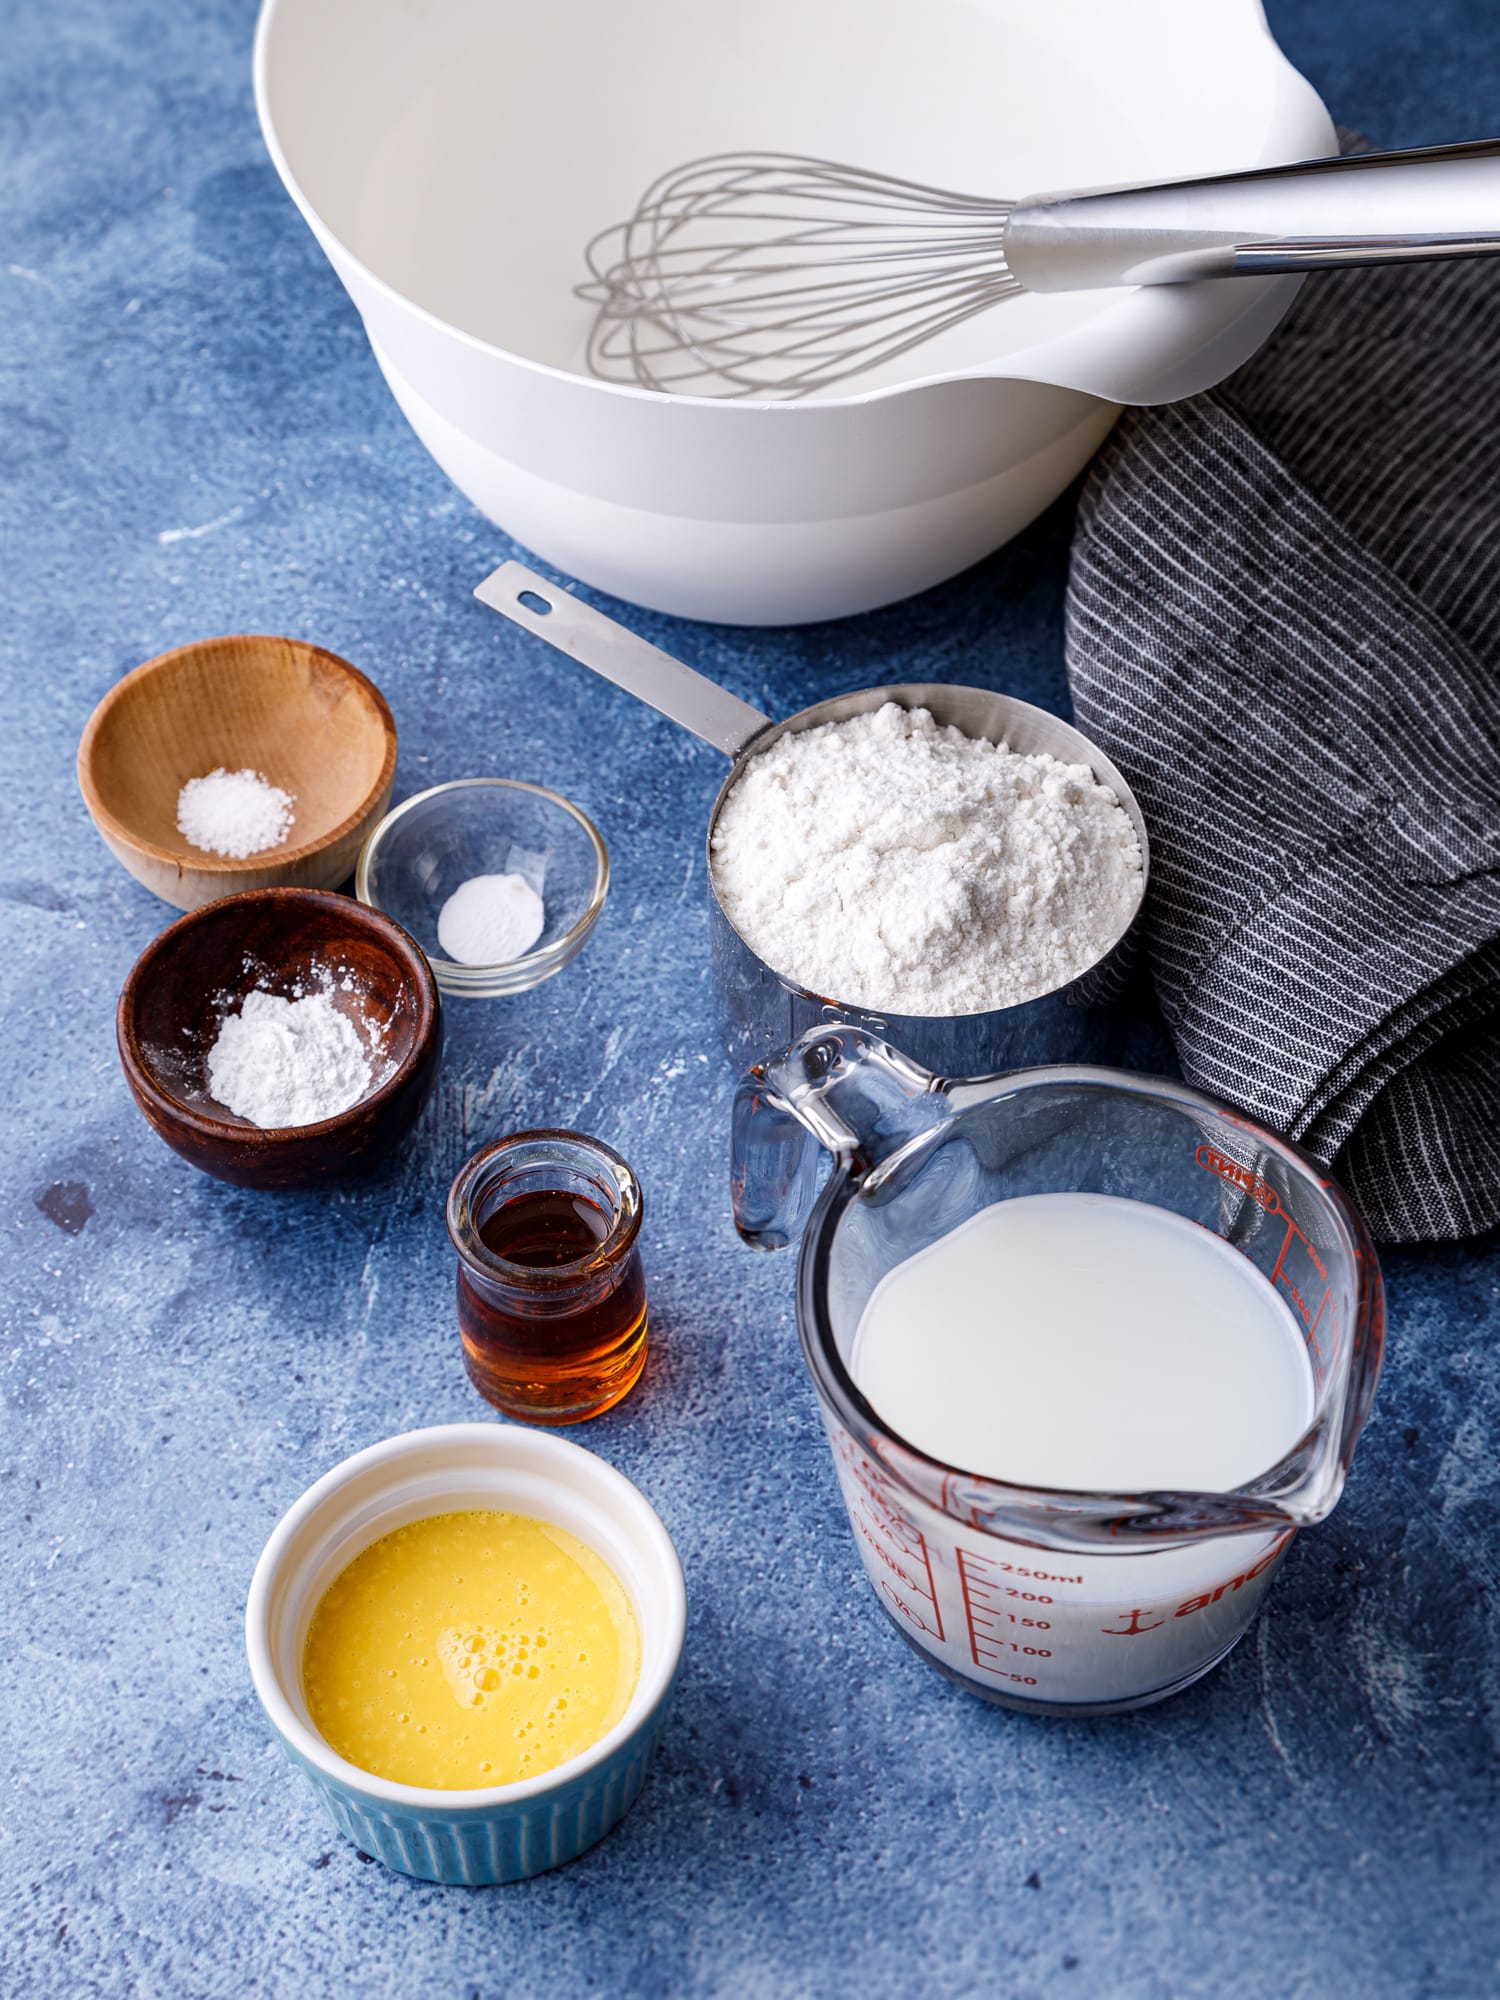
Ingredients for Almond Milk Pancakes
Gluten-Free Flour – I use All-Purpose gluten-free flour that is “1 to 1” or “measure for measure” with ordinary flour. This is the one I always use.
Almond Milk – Almond milk is an excellent substitute for dairy milk. Almond milk is a naturally dairy-free plant-based milk alternative, made from ground almonds and water and then strained to produce a smooth liquid with a rich and creamy texture and light flavor. Almond milk is a great cow milk alternative when baking as it can be replaced as a one-to-one substitution without changing the consistency of your pancake. That being said, you are not limited to almond milk as your only milk substitute. You can also use oat, rice, or coconut milk.
Egg Substitute – I usually go with what I have on hand. If I have Just Egg in the fridge, easy-I’m using that. I also love this Egg Replacer from Bob’s Red Mill. If not, Flax Eggs work great as well. 1 TBSP Flaxseed Meal with 2 1/2 TBSP water equals 1 egg.
Maple Syrup – We add pure maple syrup into the pancake batter for more flavor, a hint of sweetness, and better browning in the pan.
Vanilla – fills your pancakes with a delicious warmth
Baking Powder – So that the almond flour pancakes puff up as they cook.
Baking Soda – is responsible for the bubbles in the batter that make these babies into the airy, soft pillows that they are.
Salt – To make the sweet and oh-so-comforting flavors really pop!
Find the complete recipe with measurements below
How to Make Almond Milk Pancakes
Not just for Saturdays anymore, these almond milk pancakes come together in just under ten minutes making them a breeze to whip up anytime! Here’s How:
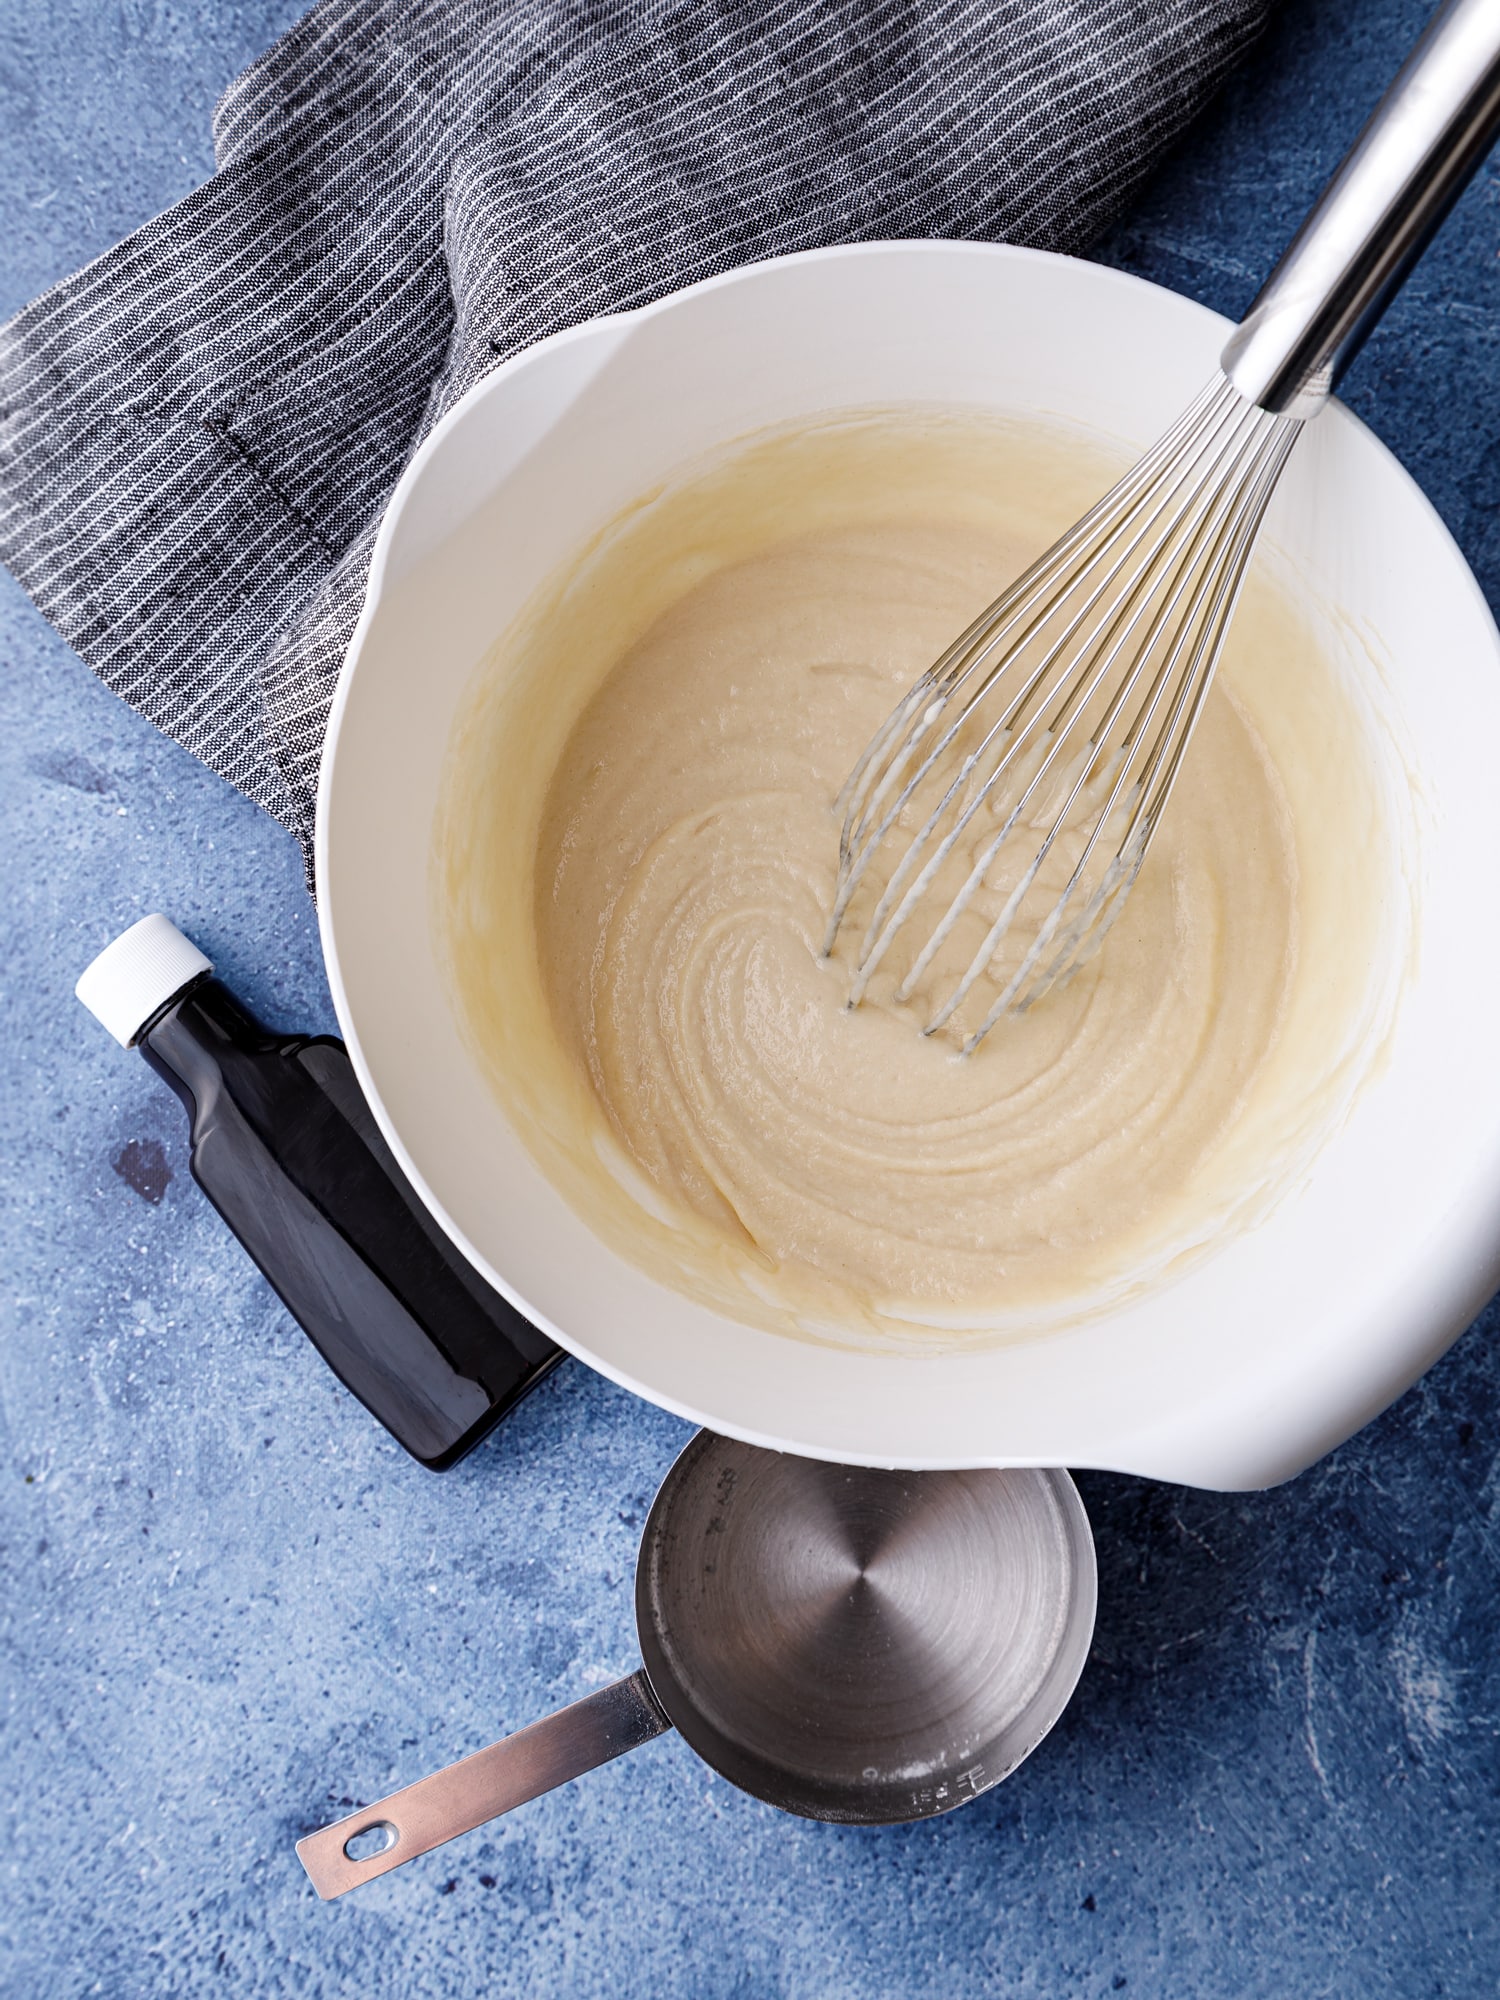
First, in a mixing bowl, combine your gluten-free flour, baking powder, baking soda, and salt.
Now, in the same bowl, (yes that’s right – this is a one-bowl recipe! Can I get a hallelujah?!) whisk in almond milk, egg substitute, maple syrup, and vanilla extract until a smooth batter has formed.
Then, preheat a nonstick skillet over medium heat for 3 minutes and lightly grease it with a little avocado oil. Use a 1/4 cup of the batter and drop it into the center of the pan. Carefully, rotate the pan until the batter is evenly dispersed.
Finally, let your pancakes cook for 3 minutes until bubbles begin to form on the top and the sides have set. Flip and let cook for 2 additional minutes. You may need to lower and/or raise the heat as you cook to ensure the pancakes are cooking to a nice golden brown. Repeat until all of the batter has been used and then enjoy!
Almond Milk Pancake Serving Suggestion
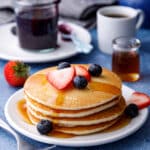
These delicious pancakes are hearty and filling so you can easily serve them up with your butter of choice and some high-quality maple syrup. Or get fancy with a dollop of greek yogurt and sliced fresh fruit. Slather them in your favorite nut butter and a drizzle of honey – my son’s personal favorite. For me though – I love my homemade blueberry cinnamon sauce!
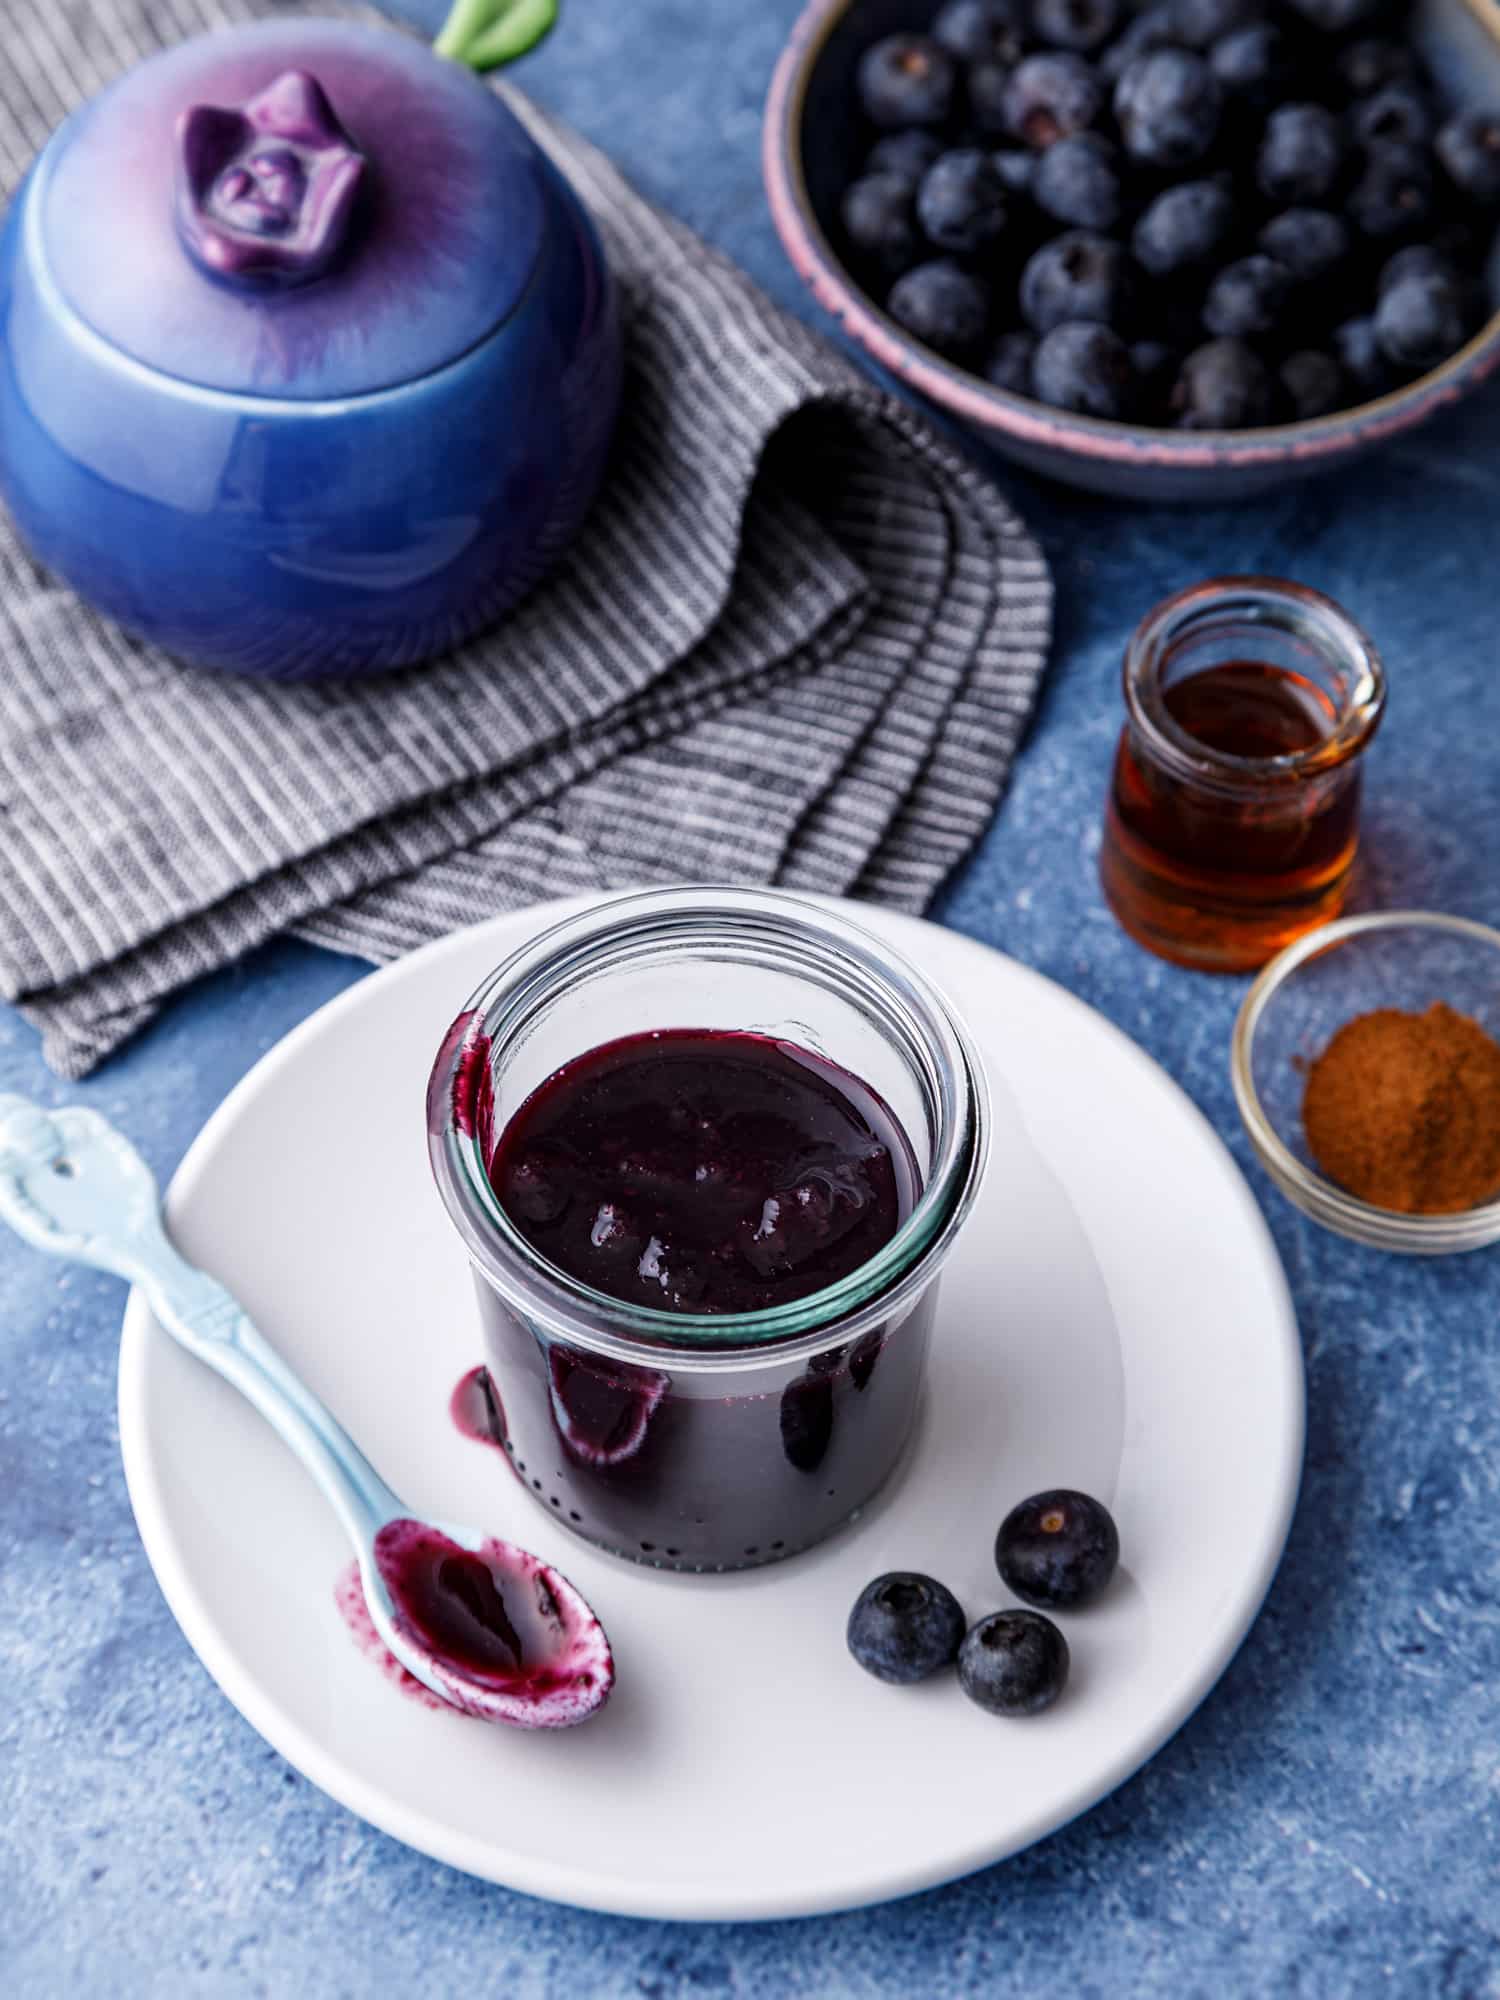
Blueberry Cinnamon Sauce Recipe
For this simple and delicious sauce, we simply combine fresh blueberries and maple syrup to make a homemade Blueberry-Cinnamon Sauce. It’s just fresh blueberries, ground cinnamon, maple syrup, and water, but the natural pectin in the fruit thickens the sauce to the consistency of syrup with far less sugar. You’ve got to try it! It’s fresh and warming and just so extra.
Make Ahead and Store Almond Milk Pancakes
These almond milk pancakes will keep well in the refrigerator for up to five days. Just be sure they are covered and cooled before storing!
Mom tip: Double or triple your recipe and freeze the extras. Without a doubt, you will be thankful you did.
How to Freeze and Reheat Almond Milk Pancakes
To freeze – Place pancakes in a durable ziplock bag and store them in the freezer for up to six months.
To reheat – Pancakes are best reheated in an oven set to 375°F. Heat the pancakes on a foil-covered baking sheet for about 10 minutes. Or reheat them in the toaster. Simply, put two pancakes — one in each slot — in and toast on a light setting for two to three minutes depending on your toaster.
More Favorite GERD Chef Recipes
If you love these almond milk pancakes, try one of these delicious recipes next:
These dairy-free, gluten-free almond milk pancakes are the BEST you can find. With only a few simple ingredients and a few minutes to prepare you get light, pillow-soft pancakes with little effort!
In a mixing bowl, combine flour, baking powder, baking soda, and salt.
Whisk in almond milk, egg substitute, maple syrup, and vanilla extract until a smooth batter has formed.
Preheat a nonstick skillet over medium heat for 3 minutes.
Lightly grease the pan with avocado oil. Drop 1/4 cup of the batter into the center of the pan and rotate the pan until it is evenly dispersed.
Let cook 3 minutes until bubbles begin to form on the top and the sides have set. Flip and let cook 2 additional minutes.
Repeat until all of the batter has been used. You may need to lower and/or raise the heat as you cook to ensure the pancakes are cooking to a nice golden brown. Serve with Blueberry Cinnamon Sauce.
Blueberry Cinnamon Sauce Instructions:
Place blueberries, water, and cinnamon in a small saucepan over medium heat.
Bring to a simmer and let cook 2 minutes.
Use a heavy spoon to mash the blueberries into the water and create a sauce.
Reduce heat to low and continue simmering 5 minutes.
Remove from heat and stir in maple syrup before serving.
Notes
Note: If the blueberries aren’t perfectly ripe and/or the sauce is too acidic, you can stir in 1/4 teaspoon baking soda to neutralize the natural acid in the berries. This will turn the sauce into a mild, creamy, and almost whipped cream-like foam that is a richer blue color.